Wednesday, April 23, 2014

Banana Nutella Muffins


I was reading through the new issue of All You Magazine and came upon an interesting twist on banana bread, a banana Nutella nut muffin. I had some ripe bananas and I knew it was a good time to give this recipe a whirl. 

BEFORE

AFTER


I couldn't find the recipe on the website, so I've typed it out. But to get more recipes from the magazine just take a look! All You Magazine

Banana Nutella Muffins, Recipe from All You Magazine

Ingredients: 
1 cup all purpose flower
1 cup whole wheat flower (if you dont have use all purpose flower)
2 tsp baking powder
1/2 tsp salt
8 tbsp (1 stick) butter softened
3/4 cup sugar
2 large eggs
3 ripe bananas (~1 1/2 cups)
1 tsp vanilla extract
2/3 cup chopped walnuts or pecans (optional)
1/4 cup Nutella

Instructions:
1. Preheat oven to 350 degrees Fahrenheit. Line 12 cup muffin tin with paper liners, or coat pan with cooking spray.
2. In a bowl, combine flours, baking powder and sale.
3. In another bowl, mix butter and sugar lightly for about 3 minutes. Beat in eggs, mashed bananas, and vanilla until smooth. Gradually stir in flour mixture. Fold in nuts
4. Divide batter among muffin cups. Spoon 1 teaspoon Nutella on top of each muffin. Swirl together Nutella and batter with a knife or tooth pick.
5. Bake until muggins are golden, about 22 minutes. Let cool in pan for 5 minutes, invert on to wire rack, turn muffins right side up and let cool completely.

Nutrition: 350 calories per serving, 15 grams fat (6g saturated), 52mg cholesterol, 3 grams fiber, 5 grams protein, 40 grams carb, 173 mg sodium. 

Saturday, April 19, 2014

Shrinking Our Foot Print

I've posted about water harvesting, changing and updating water related fixtures to stop leaks, taking Navy showers, and reusing brown water in my yard. Well....what's it all add up to?


This is my water bill. If you look on the right hand side you'll see the water usage every month. 1 unit is equal to 1,000 gallons used. This past month we scored a 2, about 2,000 gallons. The month before 1,000 gallons. If you look back to about a year ago you can see the bill was 8 and 10,000 gallons of water. I bought the house in May of 2013. So in the last year, we've been able to reduce our water usage footprint by 1/10th to 1/5th of what the previous occupants were using.

Some months were higher, you'll see an uptick in November and December when family visited and stayed with us. But overall my son and I use about 1 to 3,000 gallons of water a month. Very small considering only two people lived in the same house and used about 10,000 gallons of water in one months time. And no, they weren't watering the lawn. The lawn was watered, but using the old well which isn't counted in to the water bill.

Water is about 25 dollars for every 1,000 gallons used. My bill this month was about 50 dollars. The previous people for a month using 10,000 gallons would have paid roughly 250 dollars. That's a car payment in water.

Some of my friends think I'm extreme. But I see it as taking a shorter shower over the course of a month can lead to an extra 250 dollars in your wallet. I can't ignore those kinds of savings. What would you do with an extra 250 a month? 

Friday, April 18, 2014

Tie Dye Easter Eggs


All week long I've been seeing tie dyed Easter eggs in my news feed on Facebook and decided to give it a try. I finally had an excuse to buy food dye and while it was on sale! Being a couponer we already had plenty of shaving foam. I also read that you can use whip cream instead. So whatever is handy in your pantry. To start we boiled and cooled the eggs a few days ago. Then tonight we got to dying them. 

First, I put shaving foam on the plate and let Trevor twirl it until it was frothy. Once that was done I let him add a drop or two of dye and mix it with a butter knife. If we do this again I would mix less. When the colors thin out you dont get as many unique stripes on the eggs. Instead if the dye is over mixed you get a very pale shade of color. We redyed some of the pale eggs a second time. 


Next we put the egg gently in the foam and slowly and softly rolled it where the dye was thickest. Then placed them on a paper towel to rest and let the dye soak in for a few minutes, try three or four minutes. The longer it sits the more it soaks in and you get deeper colors. 


Then wash off with water and presto! You've got colored Easter eggs!! We'll be doing this again in the future =)

Wednesday, April 16, 2014

Shower Head


I was showering one morning when I went to move the shower head and...it fell off the wall. 

Never fear....I have a good friend who told me that it's essentially a screwed on fixture, to remove, and replace. Go buy one for 20 bucks at the store she said. Well, I did. It worked and I liked it so much I bought a matching one for the other shower. 

Upgrading my house one fixture at a time! No plumber required!

Monday, April 14, 2014

Retouching Frogs


I found these guys in my front yard when I first moved in. They were scrap metal worthy but I wasn't going to give them up that easily. The first thing I did was look around the house to see what we already had. We had gem stones for a different project perfect for the eyes, pink paint perfect for those cute little tongues, and plenty of masking tape. I bought a primer based spray paint for about 5 bucks and me and my little man got to it.


We covered all spots we didn't want spray painted green with masking tape. We spray painted one side at a time and after one of the frogs fell...I realized using a stone to anchor the lily pad feet would have avoided that issue.
Next time!! 

The pink paint was from a spray can, to make sure that the whole mouth wasn't plastered with paint I used a cup cutting it to fit around the tongue, then went at it. Any pink paint that went off the tongue I brushed up with a grey/off white paint that I also used to give a more textured feel to the instruments. 

Old eyes out. 

New eyes in.

And this is the final result! I plan on re-purposing them in the front garden area once it's done.

BEFORE


AFTER


Sunday, April 13, 2014

Choices...paint choices


I knew I wanted grey walls. I thought classy....stylish, the new modern version of the super light hot chocolate that's become a little too popular in my opinion. Yes, I wanted grey and thought I'd know it when I see it. Except.....well ten paint choices later and I have no clue. Meeting with the painter on Tuesday. lol


I've consulted a few friends most of them are leaning toward C and D. A few have said A and B. 


The outside colors I'm pretty set on. This should be interesting.


Saturday, April 12, 2014

Harvesting The Rain


One night I was at home watching shows and videos online. I came across a TLC show Extreme Cheapskates, which I hadn't watched because I lack cable but had heard about. I came upon a clip of a man who was very modest with his water use to the point of harvesting rain water and saving lightly used water for a second go around as brown water in the toilet tank. A few weeks later I spoke to a coworker about the same thing. Then a few days later on the way to work I heard a morning show on the radio talk about a woman a town over from me in Cape Coral, Florida who was harvesting rainwater, didn't have her home plugged in to the electrical grid, and only used basic plumbing from the city infrastructure for sewerage. 

I was curious.....how much money would I save by being more frugal with my water usage? It was time to start experimenting. 

It's our dry season during the winter months here, so this may not have been the best time to try this, but I did. When it rained I set out a storage tub and some buckets and pails where rain falls without the aid of a gutter. The first time I did this getting the water in the house was a challenge. I've since figured out a better method. Submerge a plastic kitty liter container in the large storage tote and reseal it, empty in to multiple containers in your shower, repeat until you have an amount you're comfortable with in the house. We have two cats and as we go through kitty litter I'll be saving these and hope to only use the resealable containers eventually.

Place your buckets etc in the tub, then fill them using the resealable tubs as your transport. Less spills this way.

Next, turn off the water supply to the toilet's tank. 

When you flush the toilet the water in the tank drains in to the bowl and pushes what's in there down the drain. If the water is off the tank will not refill. This is where you put the water in after each flush. 

The toilets in my house are newer models that use about 1.6 gallons per flush. You can see some brown writing on the back wall of the inside of the tank, this usually tells you how much water the toilet uses per flush. If you're curious lift the tank top off and check out how much water is used per flush. It's kind of amazing to think about. Say you flush 3 times per day per person, multiple by 7 days for a week, or 30 for your average month. It's a lot of water.

We've been doing this for three months now. Our method isn't fancy, but it works. We did this for three days over a weekend with water from a good rain - rain is hard to come by in Winter in SWFL - and we saved about a fifth of our average water bill. I also realize the weekends are when we're home the most. So by not flushing for #1 we are able to minimize our flushes. I've also started to use the 'family cloth' method for #1 only and only when I'm on a non complicated time of the month - ladies you know what I'm talking about. It saves on toilet paper and helps avoid clogs that would require calling a plumber. I have about 4 old face clothes I use for this. They get thrown in with the regular wash. 

Between the cost savings on toilet paper and water use we've cut down our need for toilet paper and lowered out utility bill on water by 1/4 to 1/5 by using rain water one weekend or more a month. I'm very excited to report back to you on the amount saved during the rainy season over the summer when rain is more abundant to harvest. 

Some people save shower water. This is a great idea, but if you have old pipes the shower water will help wash debris in the outflow toward the septic or sewer line. If you have older pipes I would say just let the shower water go down the drain. It may save you on clogs and plumber costs. 

Showers are also a place where you can save money. Take a Navy Shower. A navy shower is usually two minutes of running water. How to accomplish this? Get in, get wet, turn off the water, soap up, put your shampoo in etc, turn on, wash off, turn off, if you do conditioner or need to shave do it with the water off, turn it on to rinse off again and then be done. Sounds complicated? It's not. It's less of a spa experience, but it saves a lot on water. To simplify the showering business I'm also going to look out for more 2 in 1's for my hair when shopping in the future. 

Another use for rain water is in the yard. For example instead of weed whacking so much I use a grass and weed killer that is liquid based. I found it's cheaper to buy the concentrate and mix with water. Of course the amount I would need for the water would negate the water saved on my Navy showers, so instead I use the brown water from the roof run off. 

This is where I put the weed killer. It saves time and energy over weed whacking. If my 'flower bed' area looks funny it's because I'm redoing the yard to have more succulents and lower maintenance plants. I'll post more on that later. 


Thinking of how to save on bills by using a natural resource is pretty amazing. Of course there may be some compliance issues. If you're considering doing this verify that it's legal to harvest rain water where you live. Some states have made this illegal. Kind of crazy huh?  For us however, it's not illegal to harvest rain water in Florida at this time. So with our savings we can redirect the money saved to family fun, home improvements, and things we need. Being creative counts. Success!

<3 Ashley

Thursday, April 10, 2014

Fun In Our Own Backyard

Sanibel Island's Lighthouse Beach

The next few months are going to be tight!! I'm taking a summer class and getting the house painted. So with a tight budget comes some creativity and I'm ready to push myself to stay local, have fun, and save money.

Here are a few things we plan on doing this summer. If you have any good ideas please share!
<3 Ashley

Captiva Island near sunset

1. Go to the Beach! We love Fort Myers Beach, Sanibel, and Captiva islands! Pack lunch, drinks, and snacks. Cost $2 an hour parking.

Lakes Park

2. Go to Lakes Park . They have a great sprinkler park for hot days plus a huge children's playground, bike and boat rentals, and a children's railroad. Invite friends. Cost $2 an hour parking.

Six Mile Cypress Slough 

3. Go to Six Mile Cypress Slough. Bring binoculars and a camera! The slough has an elevated boardwalk with rails safe to walk through a cypress slough and see animals in nature like alligators, snakes, turtles, river otters, and more. It's free except to park and has a nature center for visitors that is exceptional for children. Cost $2 an hour parking.


4. Make cookies at home. I swear I'll let him crack an egg one day!

The melting stage in the second life of crayons

5. Make home made crayons. We haven't done this in a few years. I'm sure we have enough broken crayons to do this again. Tutorial to come!

NEW EXPERIENCES

6. Go to Sun Harvest Citrus. It's a neat store that sells Florida grown citrus and products from them. In another month when the heat goes up and the tourists go home this will be a perfect place to go. It will be our first time visiting.

7. Kayaking at Manatee Park! This is on the pricier side, at about 35 dollars per person and close enough to our house that we shouldn't need to eat out before or after. Plus - kayaking on a river with Manatees! So cool. We've never done this before so I'm very excited.

8. Golisano Children's Museum - getting tickets for free from the library! It's a 45 minute drive, so we'll make a day of it! This will be a new experience for us.

9. Party at home! Now that we have our own house it's time to have some friends over! Fun includes and inflatable water pool, water balloon toss, 3 legged race, egg relay race, chalk and bubbles. Cost food and drinks.

Sunday, April 6, 2014

Soldier On


About two years ago I was taking my first college class in 7 years. It was Biology 101 with lab. You would think easy...but it's not. It's everything you learned in high school expanded on and then some micro biology and more. Without a medical terminology background I boldly took on this part animal, part human, and part plant class. It started with about 70 kids in the lecture, and 30+ in the lab. By the end of the semester the class had whittled down to about 30  and the lab maybe 20, maybe.

The lecture and lab had different teachers. The lab instructor I found enchanting. Her name was Rebekah and she was from Zimbabwe. She explained her family thought she was crazy, she was married in her home country to someone who didn't understand her and they divorced when she decided to pursue her education instead of finding a job and being a mother right away.

She moved to a state I don't find particularly exciting - think somewhere like Idaho. She went to school full time, working through language barriers, cultural barriers, and working a job at a sewing factory. It wasn't the American experience she had imagined. She told us on the first day of lab she often questioned herself when she was in college, and her family and friends questioned her as well. Why are you doing this? It made her doubt herself. On top of that, she was so tired from work she didn't get to study as much as she wanted and she would get discouraged when she didn't get the grades she knew she was capable of.

That first night of lab she said, I know you're taking a night class for a reason. You're parents, you're working students, you're people with other commitments and you're here. She said, even if you feel discouraged, soldier on. Keep going.

After a long weekend I'm up right now soldiering on. I have three more weeks, two tests, a final, and a paper left for this semester and I can do this. I'm soldering on. I've gotten too far to stop now. Stay the course my friends.

<3 Ashley

Wednesday, April 2, 2014

Changing The Flapper....And The Kitchen Faucet


I was up reading America's Cheapest Family, by Steve and Annette Economides and as I began reading the chapter about household consumption and water waste my toilet began to run for a minute or so, then turned off. It had been doing that a lot lately, and as I read through the chapter I was enlightened to find out what was often wrong with a constantly running toilet was a simple fix for less then five dollars and didn't require a plumbers professional skill to fix. 


The Economides even gave an example of putting food dye in the tank of your toilet once it was full to see if the dye went in to the bowl before a secondary flush. If the food dye moved from the tank to the bowl you had a slow leak, which can typically be caused by the flapper being dried out leading to a poor seal. My son and I used a bath fizzy, because we were out of food dye. Low and behold, the dye was showing up in the bowl. 


We bought a new flapper for about two dollars at the home supply store. I turned the water off to the tank, flushed to empty the tank, and removed the old one comparing old to new. The old one was stiff and felt a little brittle. The new one was bouncy and gave back when bent and released. All of a sudden I understood why there wasnt a good seal. It's recommended you change your flapper every year or two, and especially if you get the occasional toilet fill noise when no one has used the toilet recently. Funny, I remember a neighbor telling me the previous occupants of the house had complained of high water bills.....


 After I flexed my plumbing muscles in the bathroom I decided to move on to the kitchen. The kitchen faucet  had a nasty leak....it cost me about 20 dollars for a very generic fixture, and after watching some youtube videos I felt I could do this myself. Except the bolt underneath was rusted in place.  The store I purchased the faucet from offered third party installation set up service. I decided to go with this for 100 dollars. This led to a huge cost savings. My normal plumber charges a 100 dollars to show up, and 25 dollars for every 15 minutes afterward, plus parts. Eesh!!!Here are the before and after pictures. 

BEFORE
AFTER


Between both changes, I'm saving a lot of water. It feels good to fix things. Both fixes combined cost me roughly 122 dollars. Not too shabby considering the cost if I had called a plumber to diagnose and fix everything. Of course, that's part of the intimidating part of owning a home, when you aren't handy, you know how much things can cost to have people come out and fix them. It's intimidating and daunting. What I would tell any new home owner is to slow down, get different quotes, ask someone you know who is older than you and has a home. Tell them what's going on and ask them what they would do? I dont know the Economides personally, but know they are a wise couple with great ideas and lots of knowledge. Their one small section about changing out a toilets flapper led me to not only fix my own but inspired me to do more by changing a leaky sink in to a properly working one. Little steps all add up.

-Ashley

Tuesday, April 1, 2014

Old Curtains Become New Again

When we bought the house I was overwhelmed by how many windows we had!!! In our one bedroom apartment we had lived in for three years, we had one window in the bedroom I had children's curtains for, and a sliding glass door in the living room, which I had never bought curtains for... It was time to make some smart investments in the curtain department!!!

My son has the master bedroom at our house with two large windows. We had the curtain set from our apartment which was a nice light blocking fabric, very popular in sunny places like Florida. I loved it, but we only had two long panels, enough for one window. The store I originally bought it from didn't carry the item anymore. It had been three years, their inventory had changed.


It was time to do some cutting and sewing. My son and furchildren helped. First I made sure the length would work if I cut the curtains in half. It did, but I had to lower the curtain rods. Cue me getting on a ladder. Then we got to the fun part!


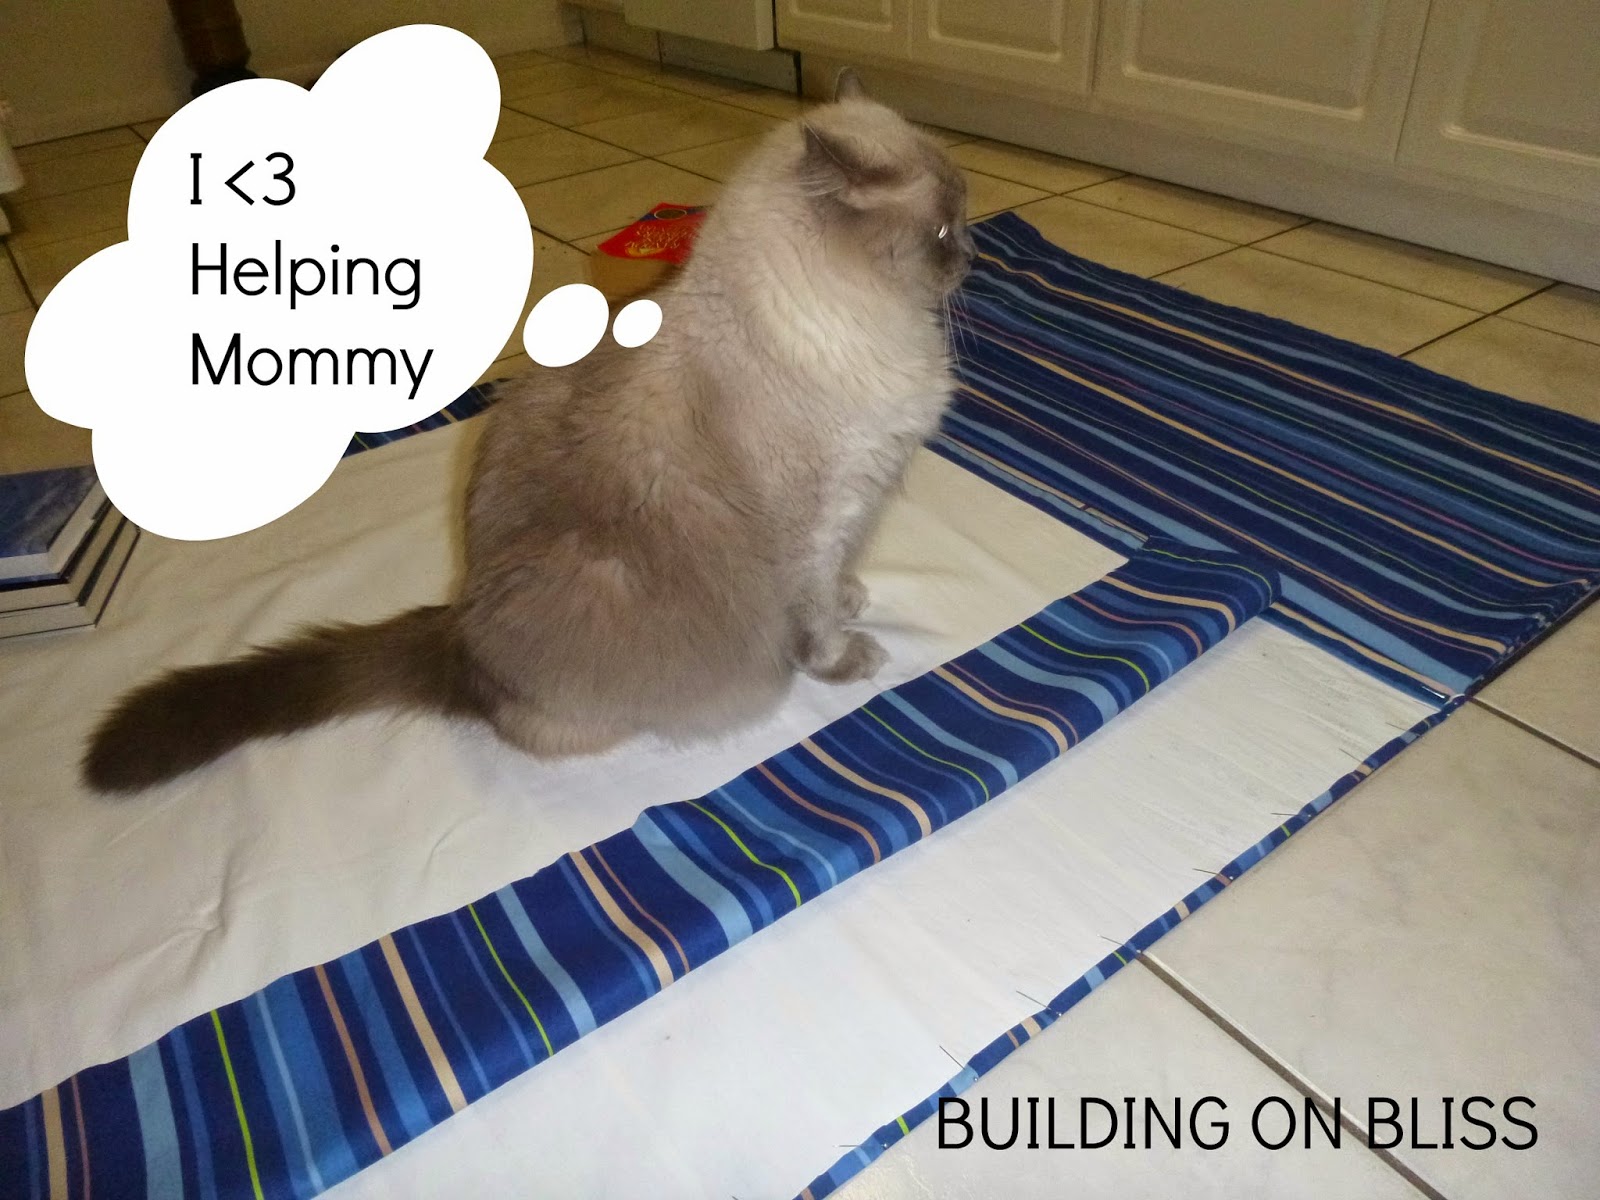
My oldest furchild Inuka helped hold the fabric down when I was pinning the hem. Pro-tip: If you dont have a large table, or measuring board you can use a tile surface to help you measure the length and line up the hems.


I bought this great sewing machine off Craigslist. It worked so fast I ended up doing the hem by hand. lol It's currently for sale on Craigslist again if you're in the area. ;)

A few needle pokes later and we have the final product. The curtains made such a huge difference!!! My little boys bedroom finally feels complete. Here's the before and after.

BEFORE


AFTER